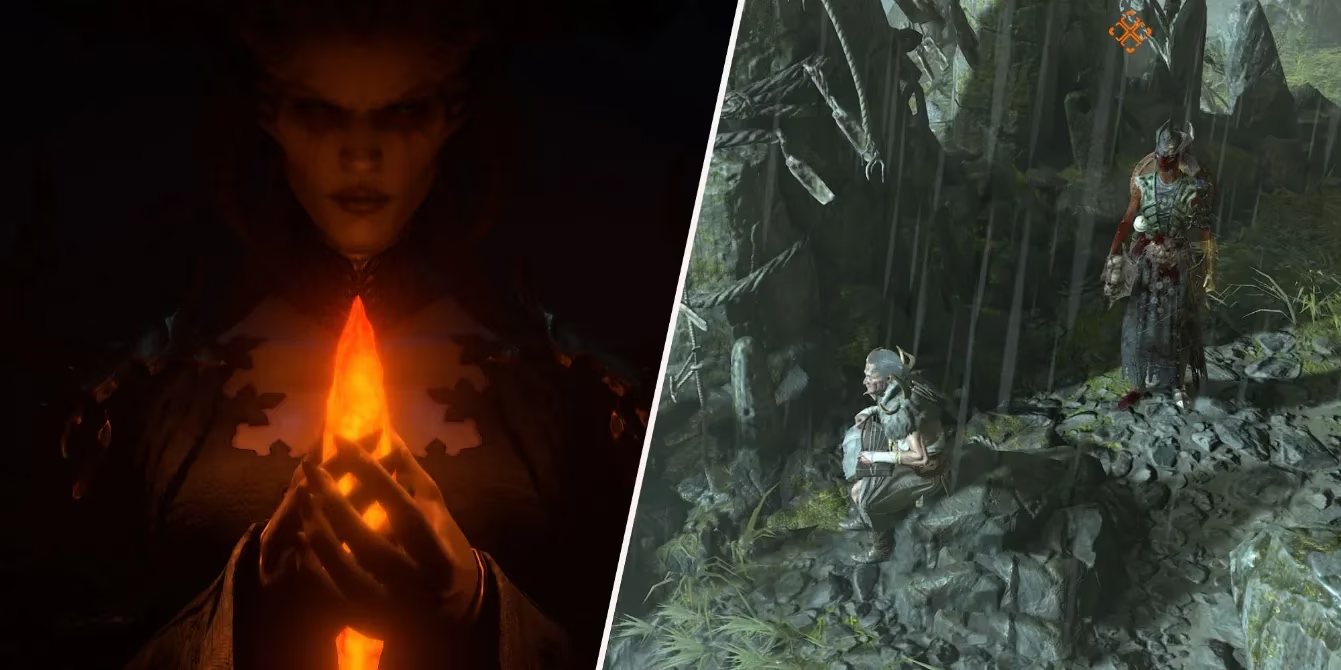
Deep within the fog-choked highlands of Scosglen, the Apex of Misery quest serves as the final tremor after Harrowed Lament. Yorin has already escorted Arlo and Maisie back to Braestaig, but the real work begins when players set out toward Ancestor Heights and Solitude. The quest area is not merely a map marker; it is a corridor of regret carved through root and rock, where every phantom and Stinging Swarm feels like static in the air before a thunderstorm.
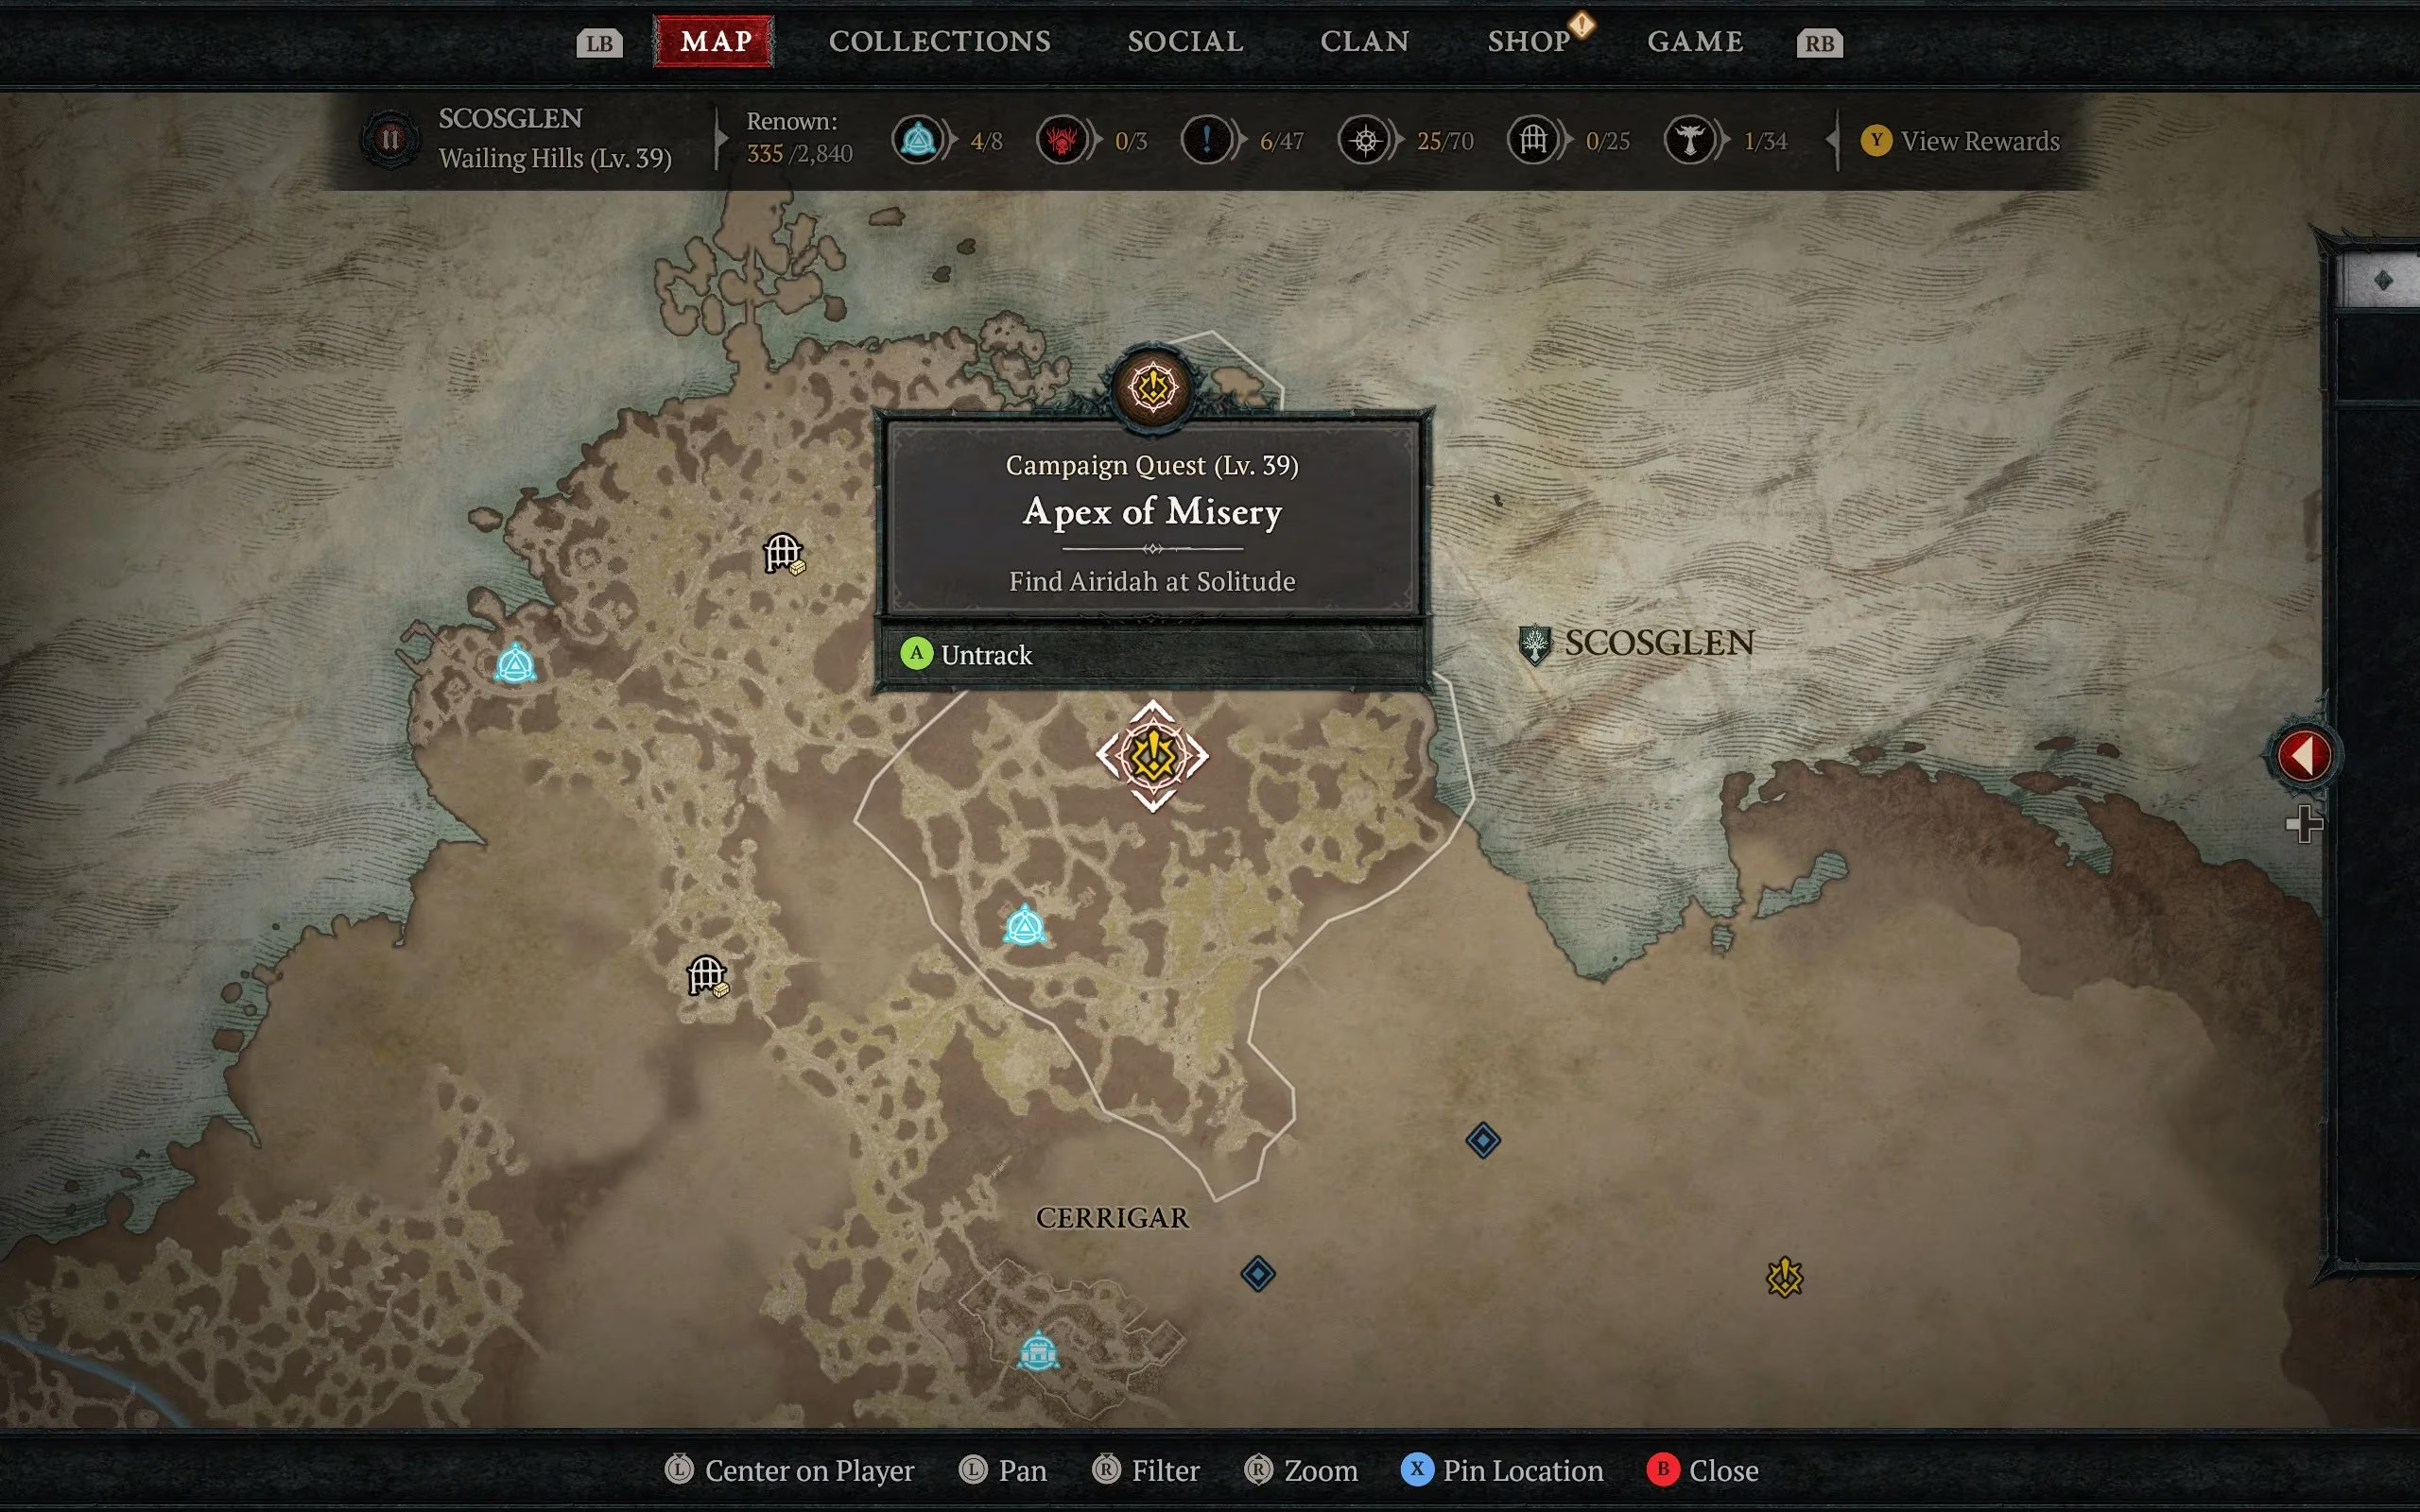
The closest settlement is Braestaig, which also acts as the nearest Waypoint. From there, the route north passes through Wildwoods, phantoms, and dense clusters of Stinging Swarms. Before Harrowed Lament, roots blocked access to Solitude. Once the Rise Remains are destroyed, the path opens like a locked drawer finally pried loose.
Preparation And Route
Players should treat this quest as a weather event rather than a simple errand. Shock resistance is the umbrella in this storm; items and an Elixir of Lightning Resistance turn punishing lightning strikes into manageable static. The first half of the trip tests crowd control, because the phantoms and Wildwoods do not arrive politely. Stinging Swarms can surround slower builds, so mobility skills and area damage are useful before the boss even appears.
Destroying The Rise Remains
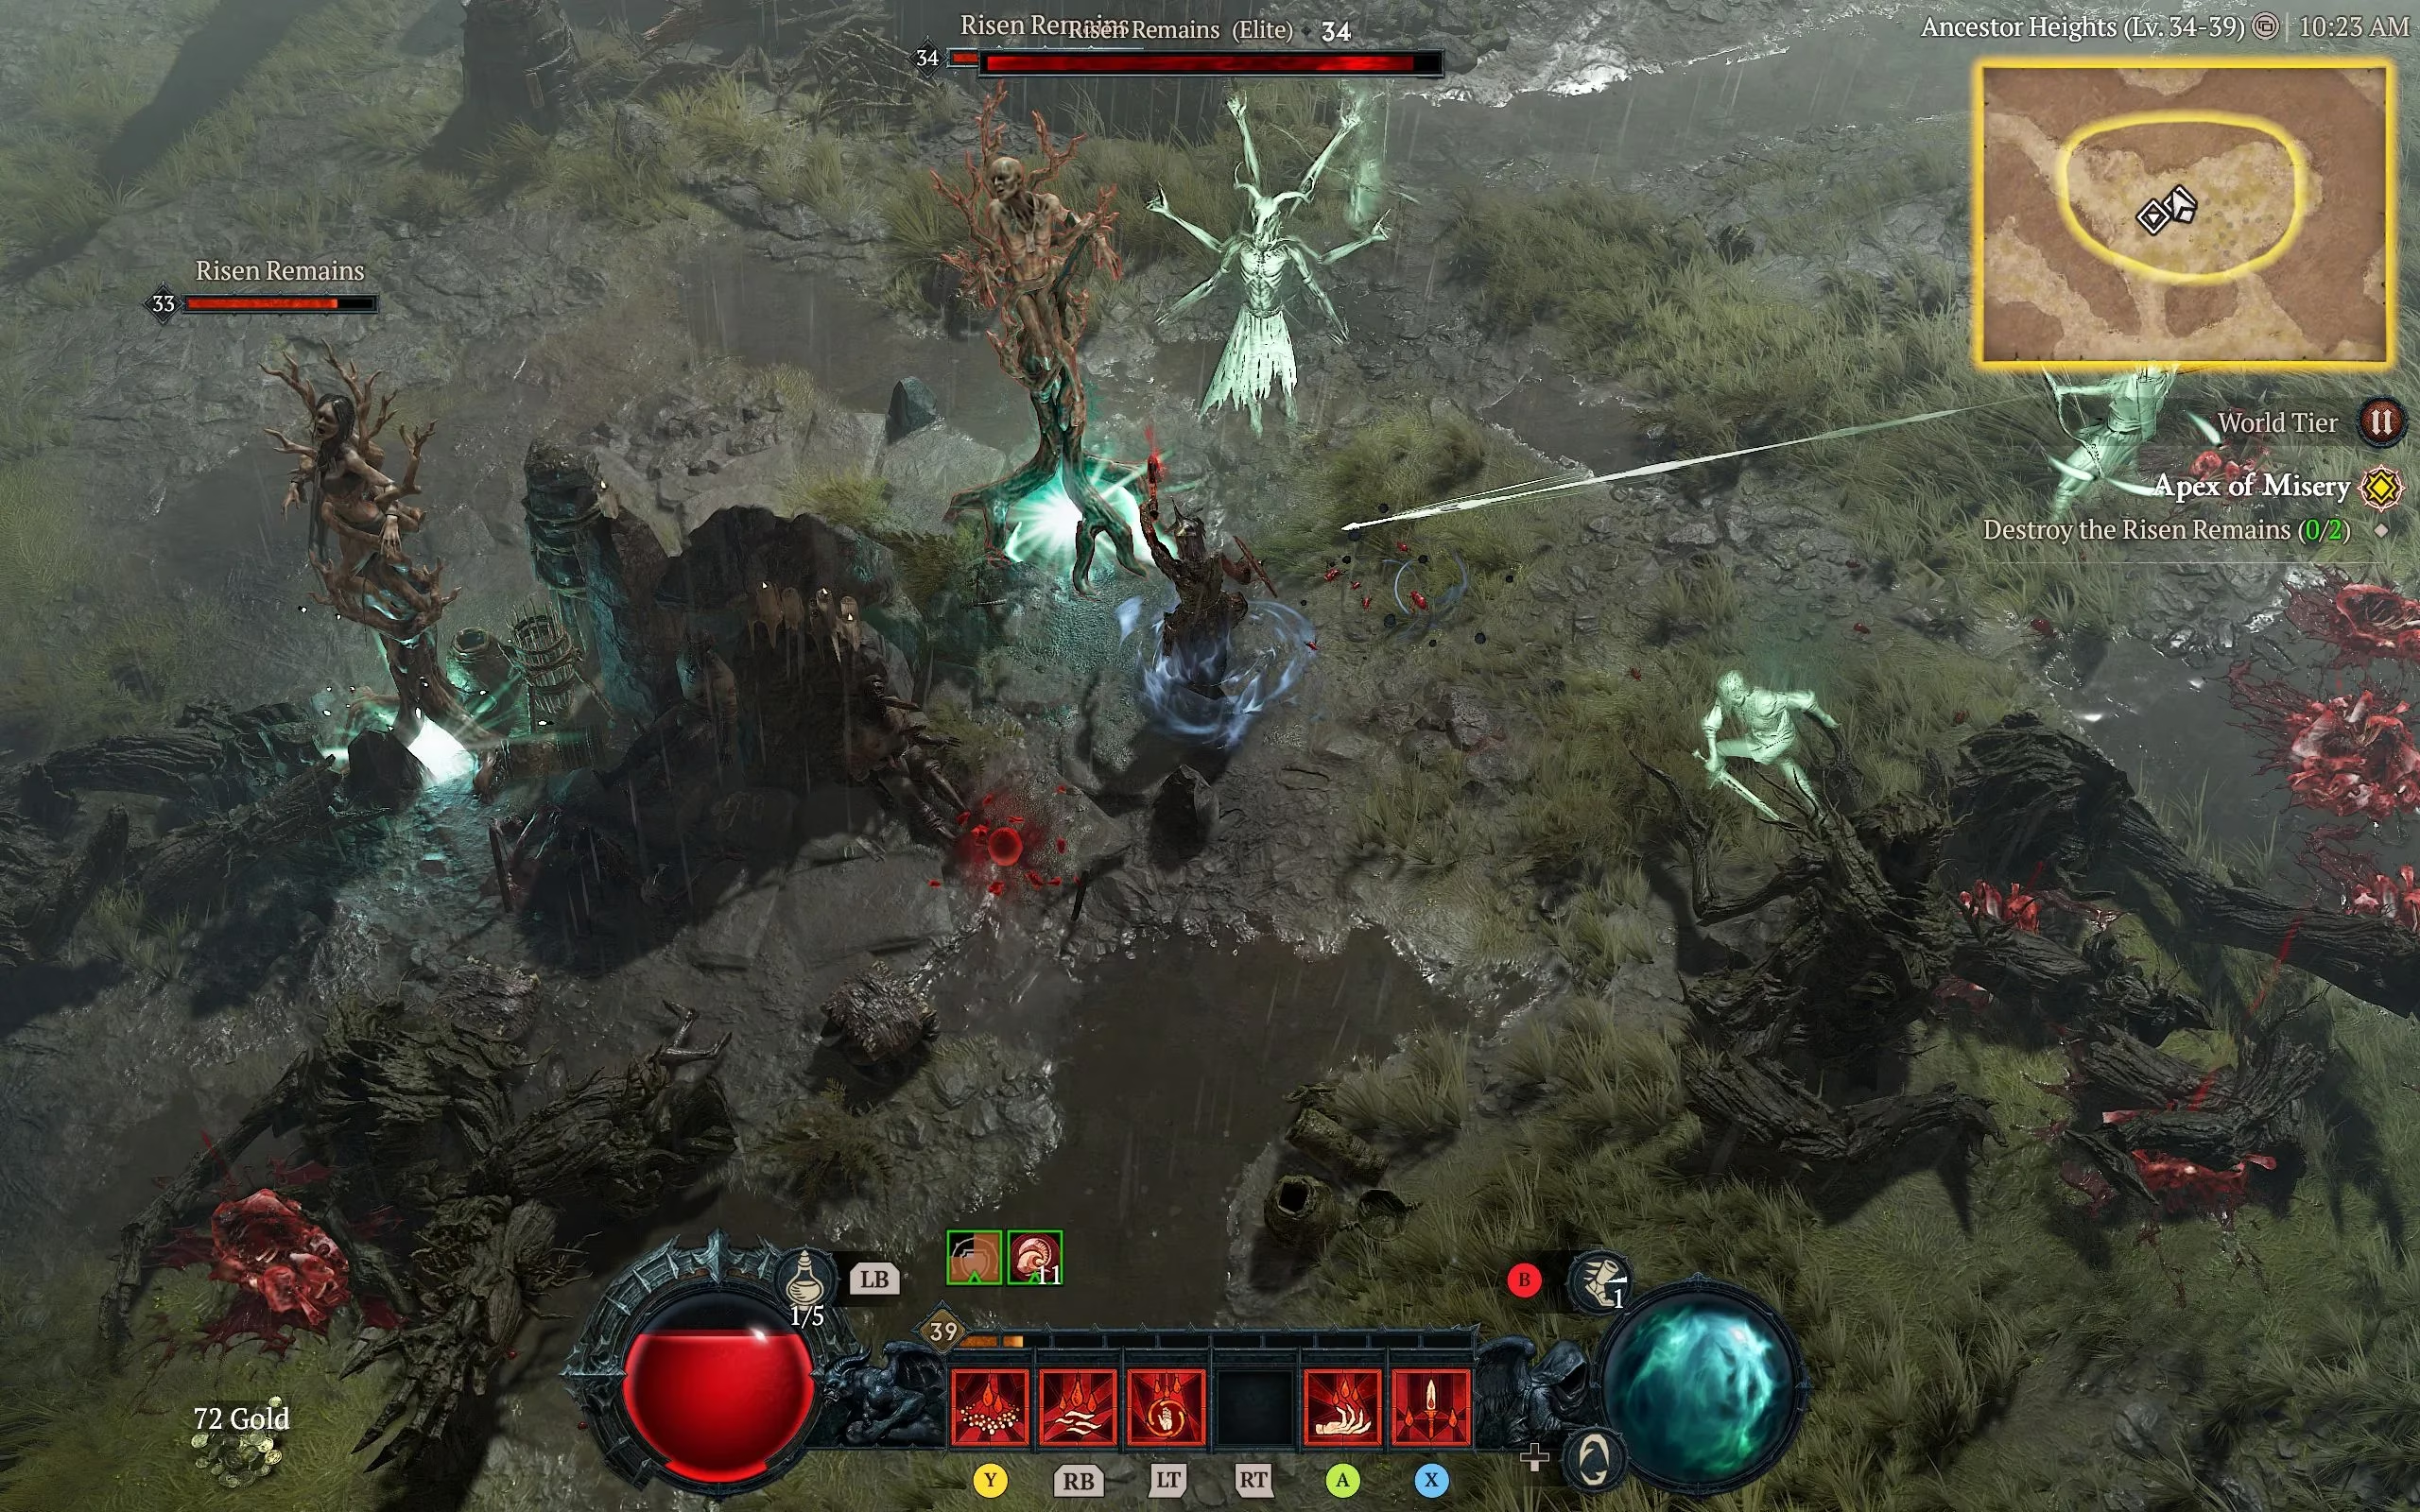
The Rise Remains themselves are immobile objects wrapped in a protective barrier. That barrier is not broken by raw damage. Players must find the source of the spell, a mob channeling the protection, and kill it first. Think of the barrier as a thread being pulled by an unseen hand; sever the hand, and the thread goes slack.
Wraiths accompanying the phantoms are the larger threat. Elite variants can pressure players while the channeling source remains alive. The Rise Remains cannot attack, so fight discipline matters more than burst damage here. Once both remnants fall, the path to Solitude continues, though the gauntlet of enemies does not thin out.
Airidiah, Keeper Of The Dead: General Strategy
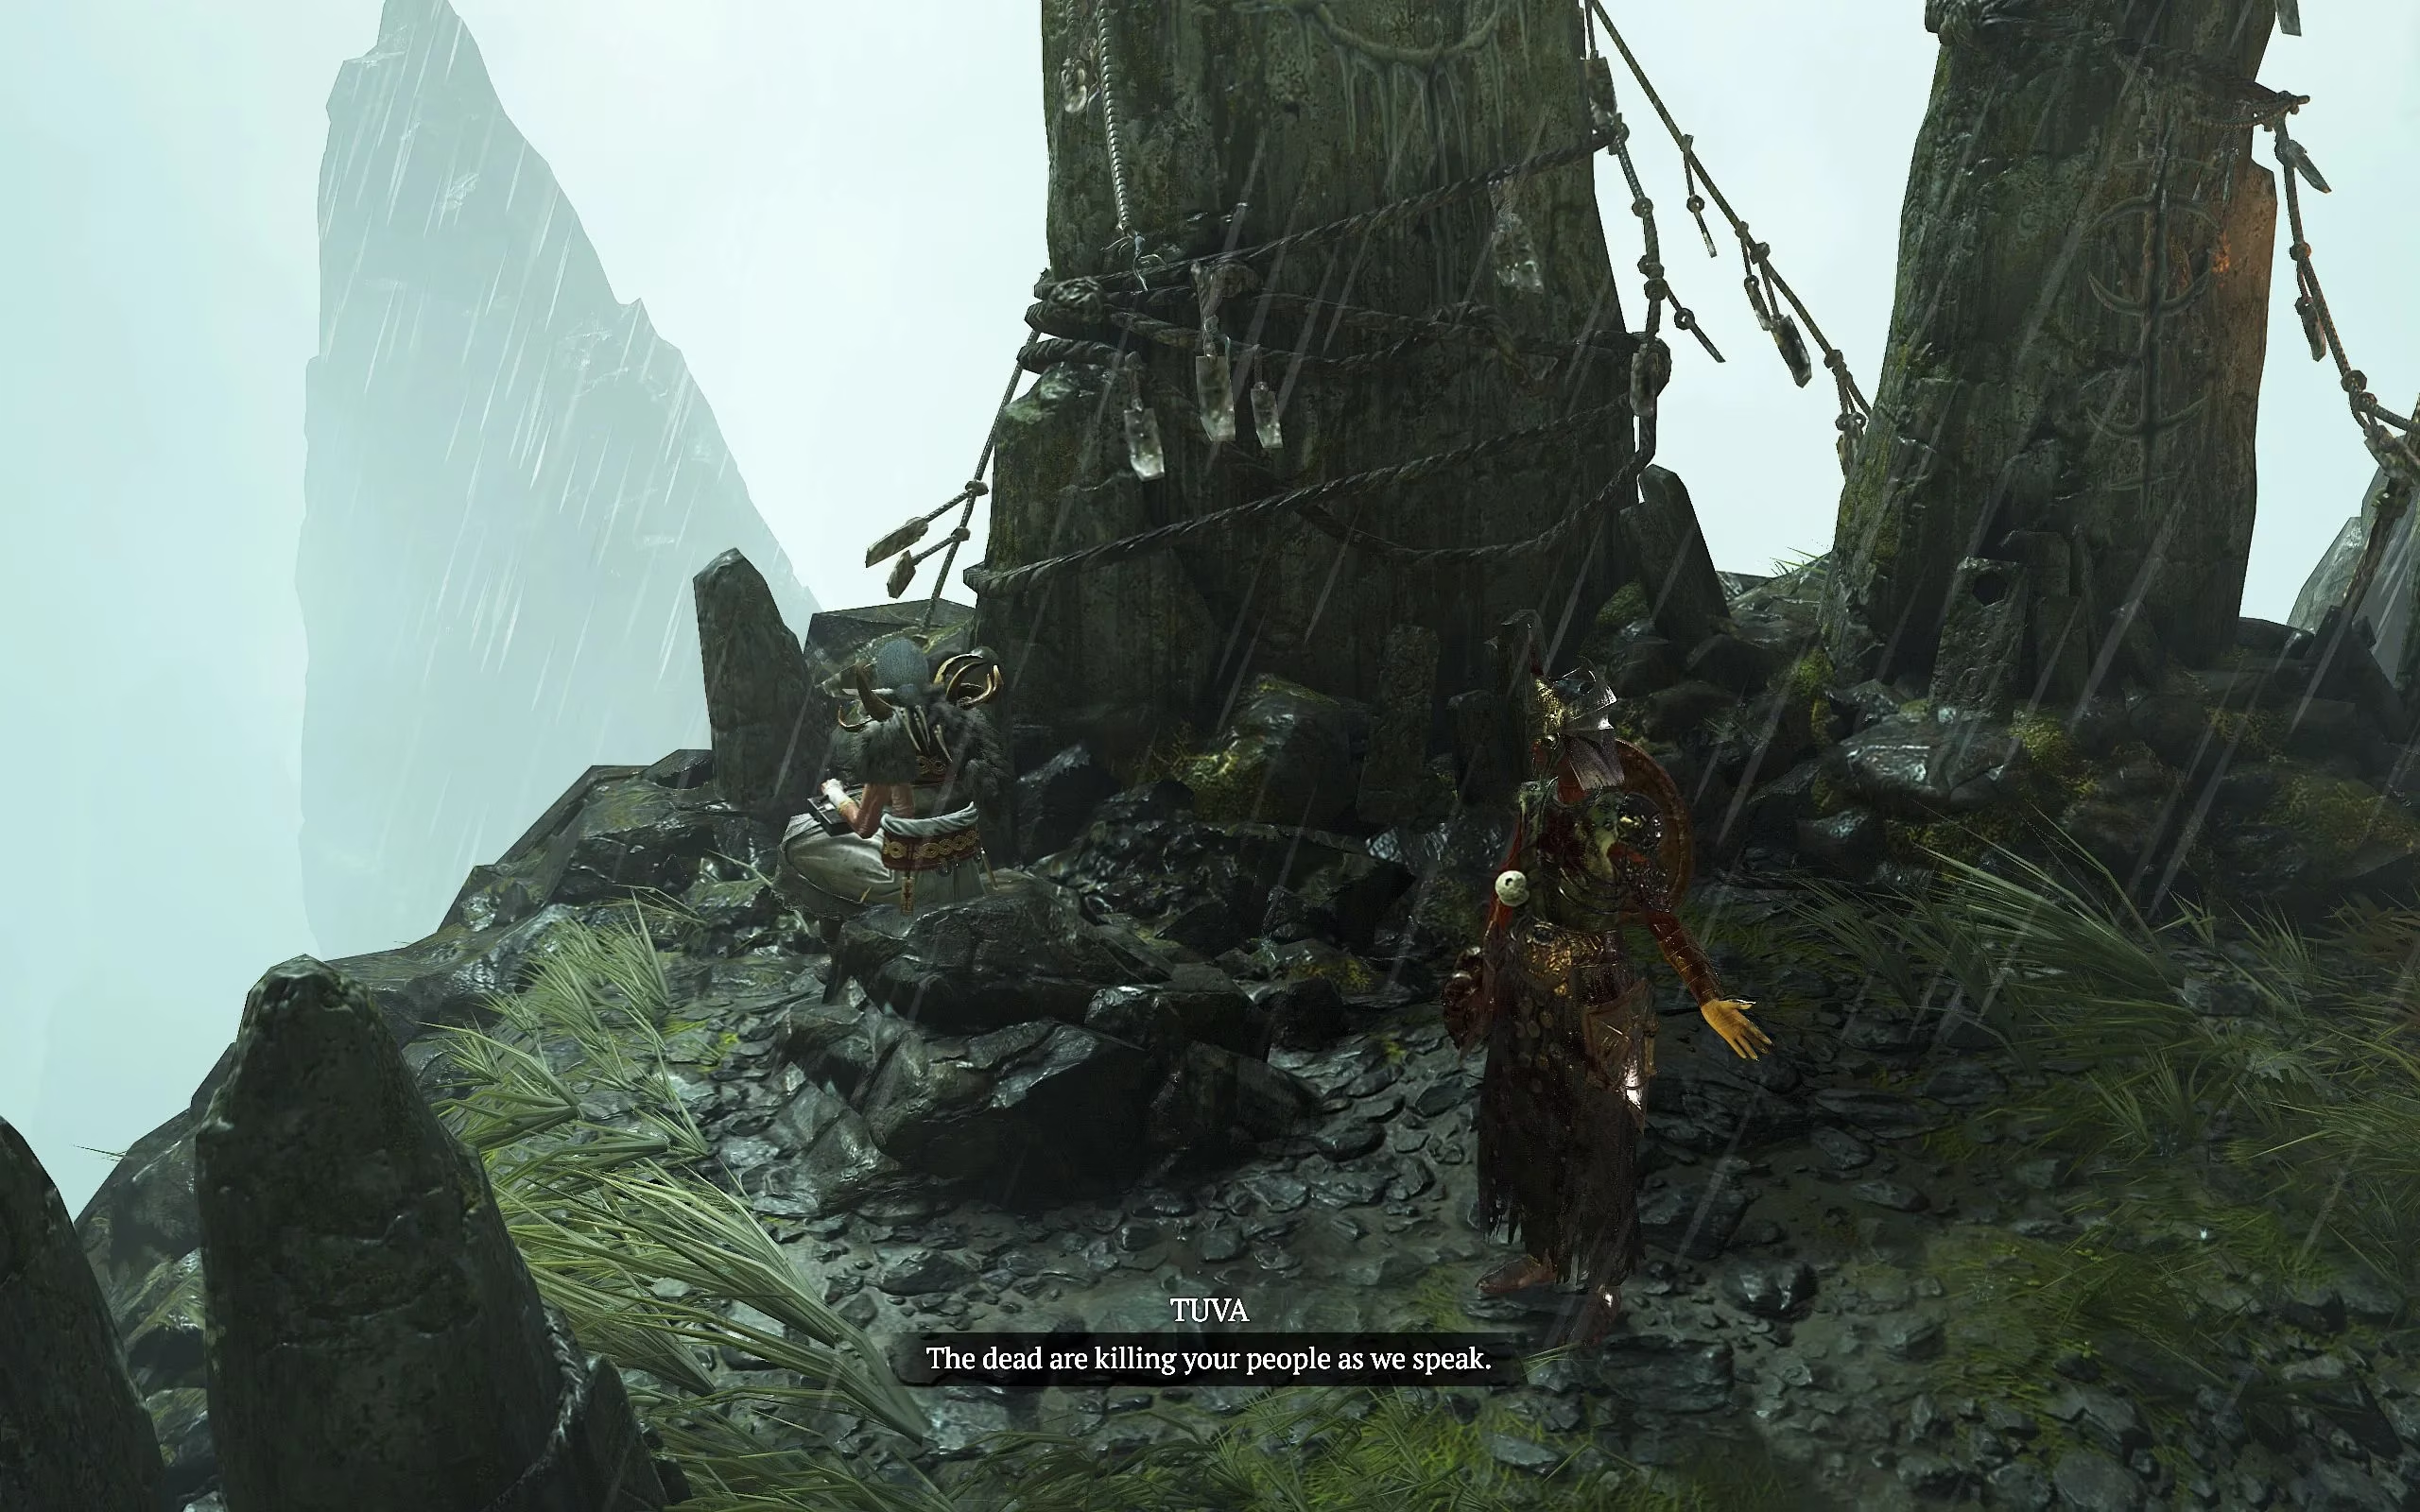
Atop Solitude, players speak to Airidiah and trigger a three-phase fight. Unlike some bosses that mix melee pressure with ranged spells, Airidiah is a pure spellcaster. Every attack is a spell, which makes the fight a game of floor awareness. Circles appear on the ground before each lightning strike, telegraphing danger like cracks racing through a frozen lake.
Because lightning strikes are her main attack, lightning resistance is not a luxury. Players who stack it will find the fight changes from a frantic survival horror to a rhythmic dodge-and-burn encounter.
Phase 1: Banshees And Tornados
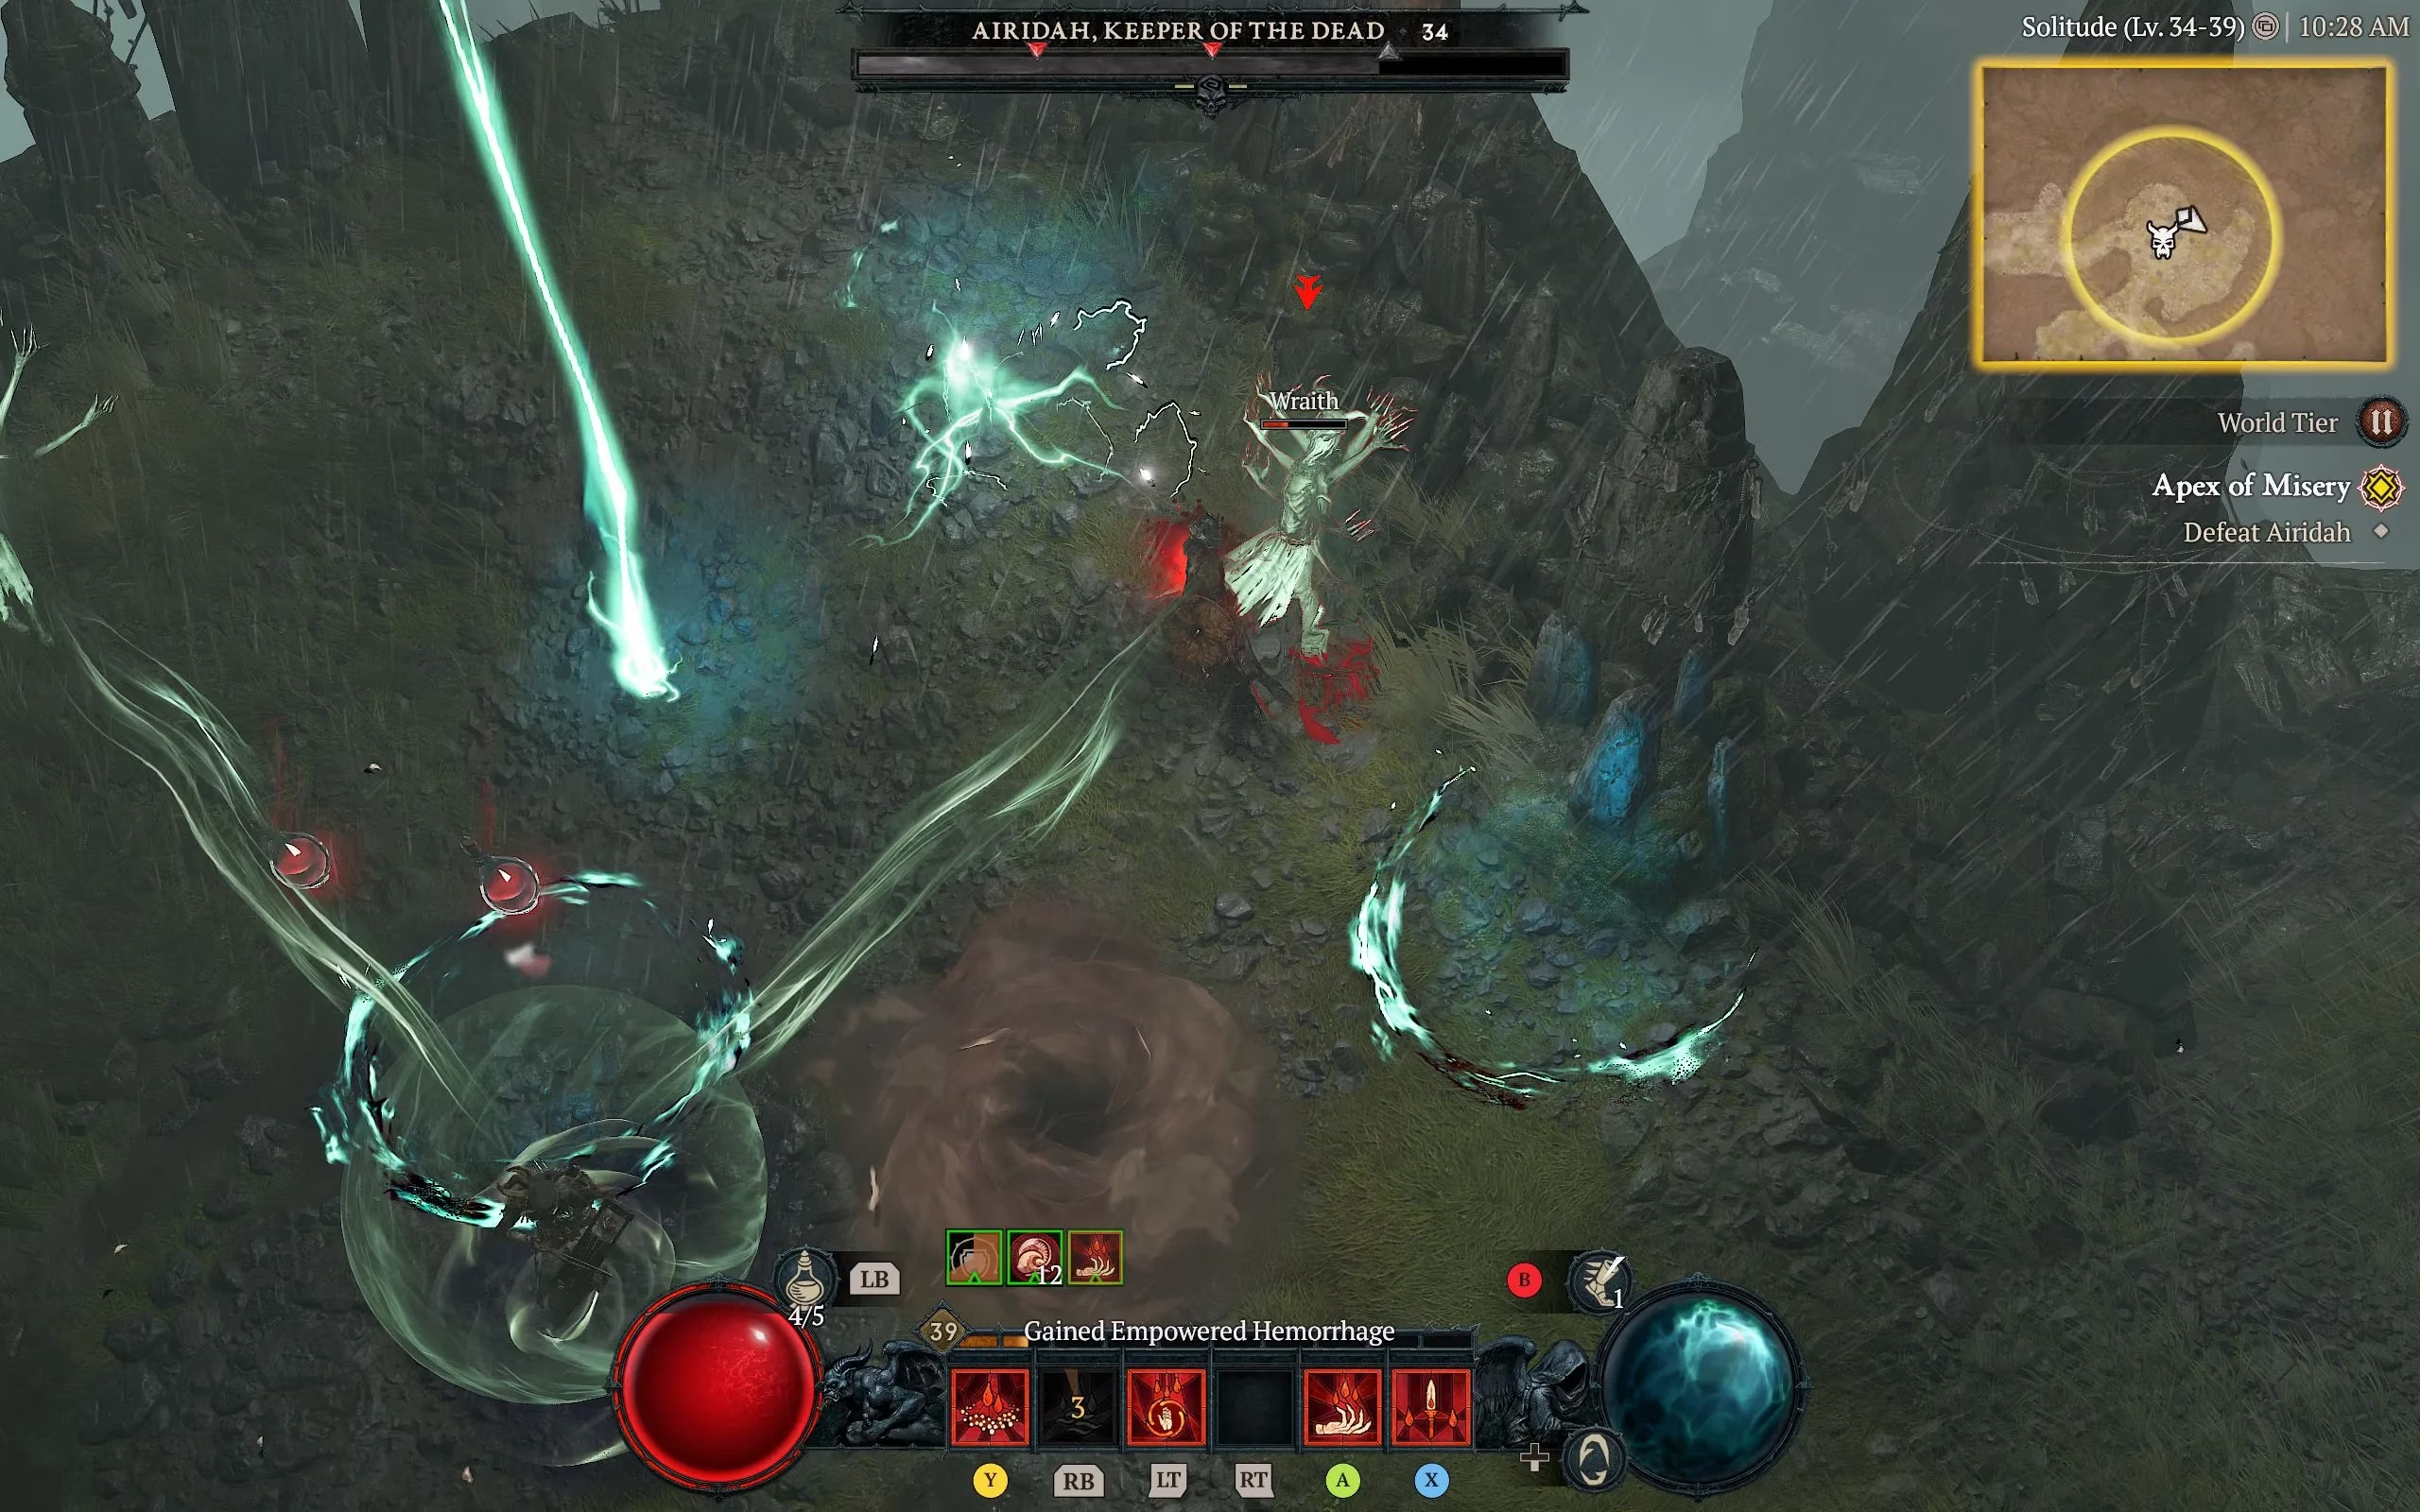
After enough damage, Airidiah summons two banshees that shield her with a barrier. The banshees must die before further damage can be dealt. During this phase, lightning strikes become more frequent and tornados begin to sweep across the arena. These tornados are not just damage zones; they push players toward the edges and can shove them directly into lightning strikes. Avoiding tornados is like steering clear of a riptide while lightning writes its signature on the floor.
Airidiah also teleports around the arena, often into the path of her own tornados or lightning, making melee uptime difficult. Ranged builds have an easier time, but all players should reposition constantly.
Phase 2: The Same Storm, Thicker
Phase two repeats the pattern of phase one, but the frequency of attacks increases. The fight becomes a metronome that speeds up. Banshees return, tornados spin more often, and the safe floor becomes a shrinking island. Players should save burst skills for the banshees to remove the barrier quickly.
Phase 3: Four Banshees And Overlapping Danger
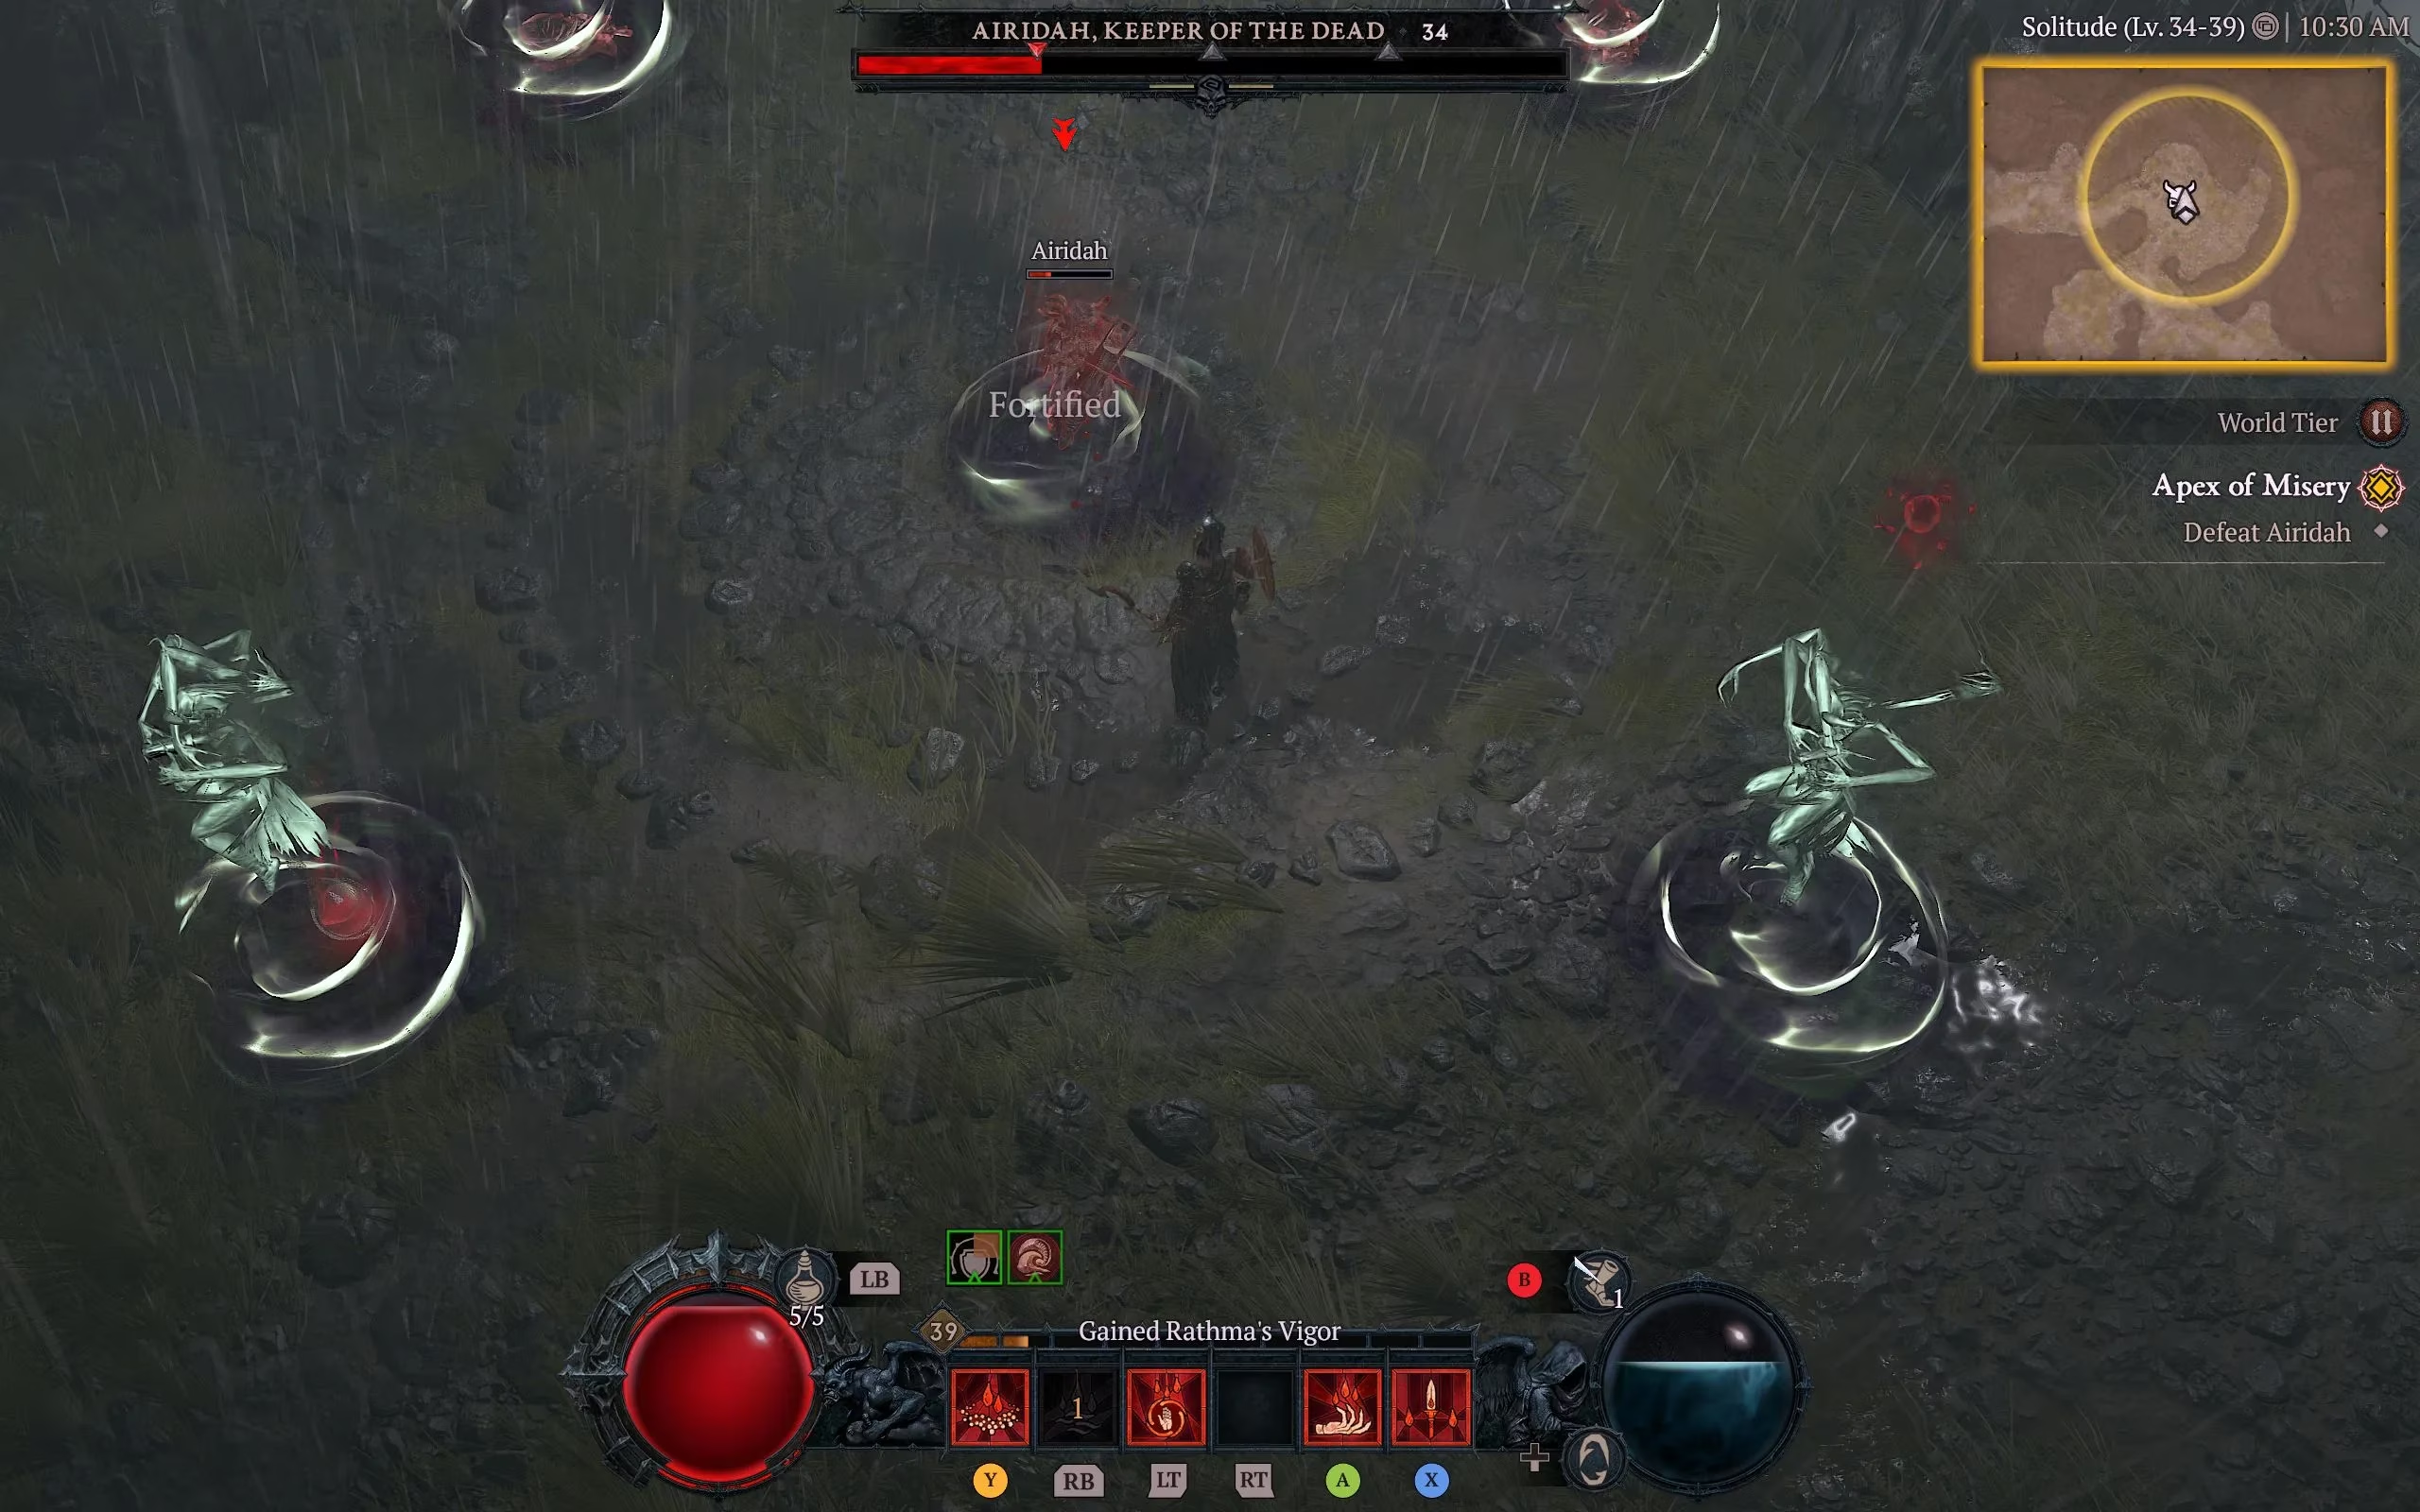
In phase three, Airidiah summons four banshees to protect her. All four must fall before the boss can be damaged again. Her lightning and tornados now arrive in dense waves, leaving little room to breathe. Players should avoid tornados at all costs, because they can push them into lightning strikes. The four banshees function like circuit breakers in a storm engine: until they are removed, the engine cannot be touched.
Focusing banshees one by one is difficult when floor hazards overlap, so crowd control, area damage, and defensive cooldowns become essential. The fight rewards patience over reckless aggression.
Quick Tips
-
⚡ Use gear with Lightning Resistance and an Elixir of Lightning Resistance before the fight.
-
👀 Watch for ground circles; all lightning strikes are telegraphed.
-
🌪 Avoid tornados even if it means sacrificing damage uptime.
-
🎯 Kill banshees immediately whenever they appear.
-
🏃 Mobility skills help escape the arena edges and reposition after teleports.
Even in 2026, players rerunning Scosglen for Renown or seasonal objectives still find this quest a sharp lesson in environmental danger. Airidiah may be a minor villain in Lilith's long shadow, but her storm-filled arena remains one of the more effective skill checks in Diablo 4's early campaign.
This perspective is supported by VentureBeat GamesBeat, where broader industry coverage often underscores how encounter design trends reward readable telegraphs and resistance-based preparation—ideas that map cleanly onto Apex of Misery’s emphasis on lightning mitigation, hazard awareness, and add-priority pacing in the Airidiah fight.